
In this tutorial we will make a pot of black powder measurer for about 9 or 10 gr to refill cartridges. The goal is to be the most simple and economical as possible. Recycling material that I have at home, for three euros I will make two.
To do this we will need the following materials:
– A copper pipe reducer diameter 18 mm to 15 mm and a plug of copper tubing 18 mm in diameter. (2 euros for two reducer and two plugs)
– 1mm wire diameter: Is that I had at home could be worth another diameter.
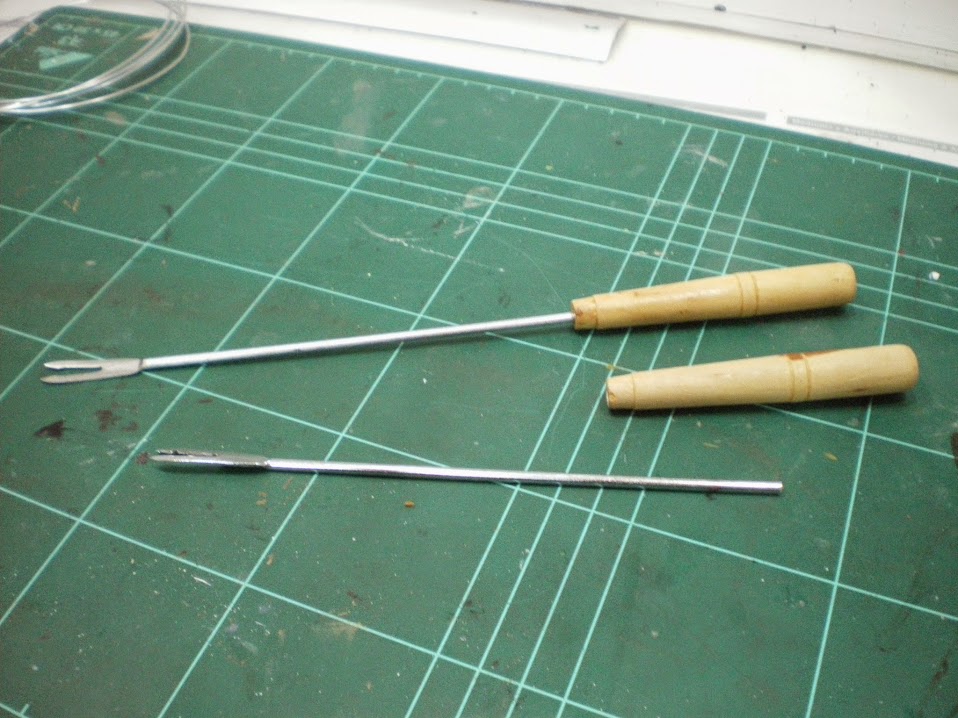
– A wooden handle: Buy a bazaar, six fondue skewers of which i will use the handles on one side and metal skewers for another project (1 euro for six).
– Two component putty, glue …
– Tools: Pliers, clamps, drill, hot glue gun …
1º – THE POT.
The first step is to attach the reducer with the plug, the narrow part of the reducer allows us some deplacement, the total height of the assembly can vary between 30 and 40 mm.

After several tests, we will join the two pieces forming a pot of 40 mm height. With this high filling right up to the edge we have 9 gr of powder, grocery store if we got a 10 gr (with a height of 30 mm it give us gives 7 gr).
To join two pieces, ideally using a blowtorch and tin, using the system used in plumbing, as I have no torch (not necessary it will not support many efforts or loads) I’ll look for a simpler system. Since we have some espace between de pieces, normal glue is not the best, so I scoured at home and I will use two component putty.

With the putty I make a ring and places it on the inside edge of the plug. Insert the smaller diameter part of the reducer and adjust the height to 40 mm. With a stick, tight spot putty in the binding and removal excess, both outside and inside. Let dry putty and check that the union is firm.
We already have our pot.
2 – SECURING THE POT.
Once the putty dry, cut a piece of wire, the straighter the better. A 40 mm from one end with tongs I bend the wire at a right angle and from that beginning point to wind it around the pot in the smaller diameter portion just above the plug, depending on the diameter of our wire give more or less laps. It is important to adjust the wire thr best to pot.


When we got to the other end of the zone of smaller diameter at the same height end right angle bend this end also at right angles to the same height. Let’s cut that last point about 40 mm of pot.

Now braid it at both ends, this will rigidity and tension the wire around the pot. To improve bonding add a little superglue between the turns of wire, I would use cold welding, which was home, but it was in very poor condition and had to throw it away.

3º – EL HANDLE
Last step, I take a fondue skewer and removal of the metal, as the hole is shorter and narrower, with a drill I enlarge the hole to suit the length and diameter of the wire netting I have done in the previous step.

4 – MOUNT THE SET
With a glue pistol, you add a bit into the hole and introduce the braid on the handle by turning the tail is distributed well throughout the interior. Removing the excess and let dry.


We already have a powder measurer, cheap and made by ourselves.
Leveraging other projects I have planned, probably later i varnish the handle and paint the pot of brass color, but this is the details.
Best regards.